Ubuntu 12.04LTSにnginxをインストールする方法
当ページのリンクには広告が含まれています。
スポンサーリンク
Ubuntu 12.04LTSにnginxをインストールする方法を紹介します。
Ubuntu 12.04LTSは、2012年4月26日にリリース。LTSとは、長期サポート(Long Term Support)のことで、デスクトップ版で3年、サーバー版で5年のサポート(セキュリティアップデートの提供)をしてくれます。サーバー版であれば、Ubuntu 12.04LTSは2017年4月までセキュリティアップデート対象です。
それでは、Ubuntu 12.04LTSにnginxをインストールしていきます。
nginxのインストール
/etc/apt/sources.list
aptでnginxをインストールするために以下の行を/etc/apt/sources.listファイルに追加します。
# cp /etc/apt/sources.list /etc/apt/sources.list.org
# vi /etc/apt/sources.list
deb http://nginx.org/packages/ubuntu/ precise nginx ← 追加
deb-src http://nginx.org/packages/ubuntu/ precise nginx ← 追加
diffコマンドで比較
適切に編集できているかを確認するためにdiffコマンドで比較します。
# diff /etc/apt/sources.list /etc/apt/sources.list.org
62,64d61
<
< deb http://nginx.org/packages/ubuntu/ precise nginx
< deb-src http://nginx.org/packages/ubuntu/ precise nginx
apt-get update
sources.listを編集したので、apt-getコマンドでパッケージを更新します。
# apt-get update
…
W: GPG error: http://nginx.org squeeze Release: The following signatures couldn't be verified because the public key is not available: NO_PUBKEY ABF5BD827BD9BF62
GPGエラーで怒られちゃいます……。
PGPキー
nginxが発行しているPGPキーをapt-keyに追加すれば、OKです。
# wget http://nginx.org/keys/nginx_signing.key
# cat nginx_signing.key | apt-key add -
さて、改めてapt-get updateコマンドを実行しましょう。
# apt-get update
nginxのインストール
apt-get updateがうまくいったら、nginxをインストールしましょう。
# apt-get install nginx
以上で、nginxのインストールは完了です。
nginxの確認
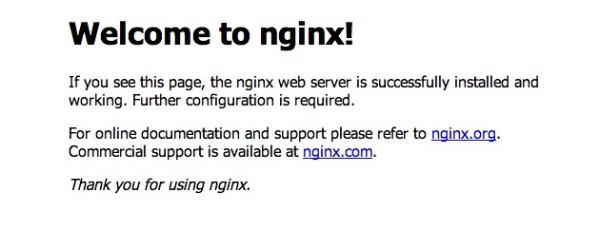
サーバーにWebブラウザでアクセスして、このようなページが表示されていればインストール成功です。