WordPressのインストール(CentOS)
当ページのリンクには広告が含まれています。
VPS(Virtual Private Server)に構築したCentOSにWordPressをインストールする方法を紹介します。WordPressのインストール記事は少し長くなったので3部構成です。今回は「3. WordPressのインストール」を説明します。
WordPressのインストール:目次
1. Apache、MySQL、PHPのインストール
2. MySQLの設定
3. WordPressのインストール
WordPressのダウンロードと解凍
WordPressをhttp://ja.wordpress.org/releases/からwgetでダウンロードします。
# cd /tmp
# wget http://ja.wordpress.org/wordpress-3.5.1-ja.tar.gz
ダウンロードしたファイルを解凍し、Apacheが読み込めるようにします。
# tar zxvf wordpress-3.5.1-ja.tar.gz
# cp -r wordpress /var/www/
# chown -R apache.apache /var/www/wordpress
Apacheの設定
# cp /etc/httpd/conf/httpd.conf /etc/httpd/conf/httpd.conf.org

# vi /etc/httpd/conf/httpd.conf
DocumentRoot "/var/www/wordpress" ← DocumentRootをWordPressのディレクトリに変更
<Directory "/var/www/wordpress"> ← DocumentRootと同じディレクトリに変更
     AllowOverride All ← .htaccessによるディレクティブの上書きを許可
diffコマンドで比較
適切に編集できているかを確認するためにdiffコマンドで比較します。
# diff /etc/httpd/conf/httpd.conf /etc/httpd/conf/httpd.conf.org
292c292
< DocumentRoot "/var/www/wordpress"
---
> DocumentRoot "/var/www/html"
317c317
< <Directory "/var/www/wordpress">
---
> <Directory "/var/www/html">
338c338
<     AllowOverride All
---
>     AllowOverride None
Apacheの設定を反映します。
# /etc/init.d/httpd restart
httpd を停止中:                                            [  OK  ]
httpd を起動中:                                            [  OK  ]
WordPressのインストール
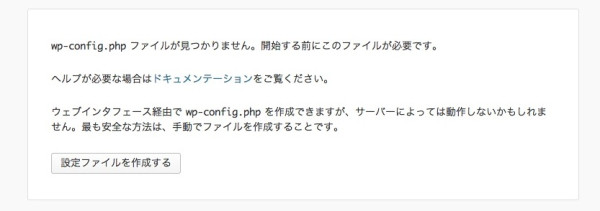
VPSにWebブラウザでアクセスすると、以下のような初期画面が表示されます。「設定ファイルを作成する」をクリックすると/var/www/wordpress/ディレクトリに設定ファイル(wp-config.php)が自動生成されます。
設定ファイル(wp-config.php)の必要項目をウィザードに従い設定していきます。「さぁ、始めましょう!」をクリックして下さい。
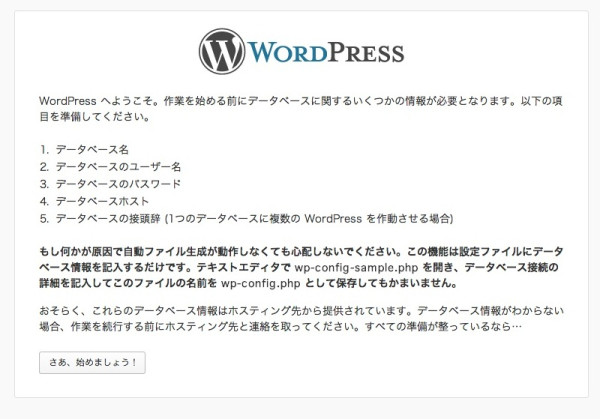
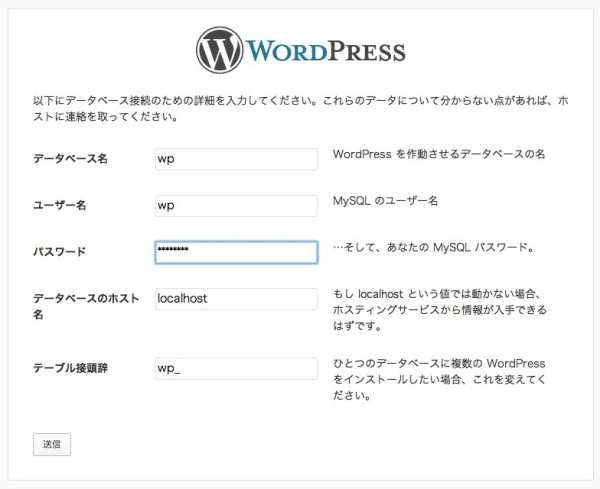
「2. MySQLの設定」で設定したWordPress用MySQLのデータベース名(wp)、ユーザー名(wp)、パスワードを入力します。
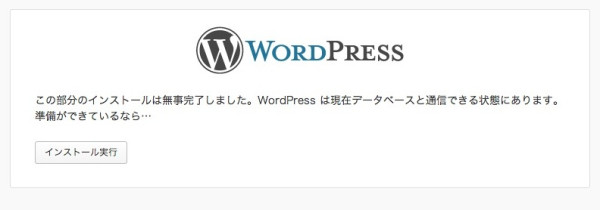
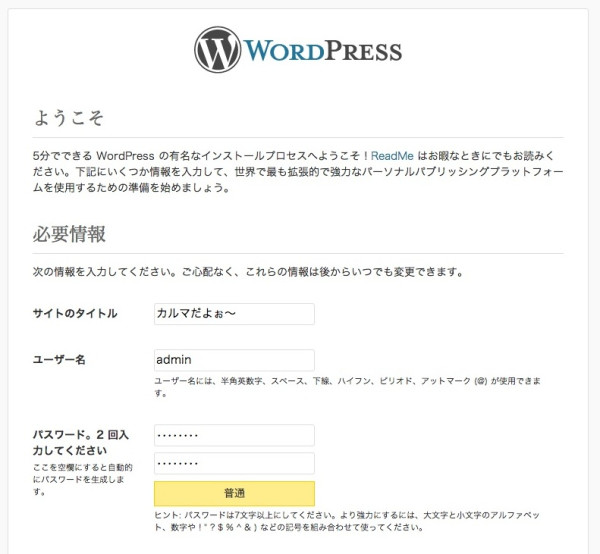
サイトのタイトル、ユーザー名(WordPress編集時に利用)、パスワード、メールアドレスを入力し、「WordPressをインストール」をクリックします。

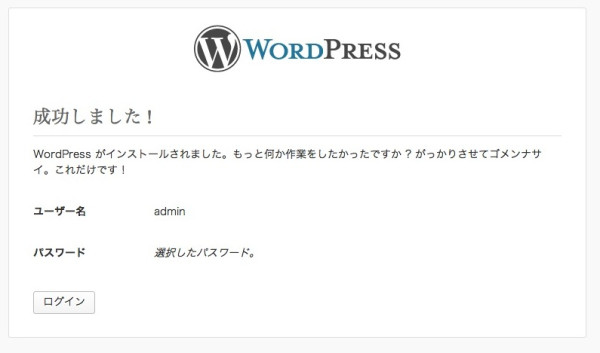
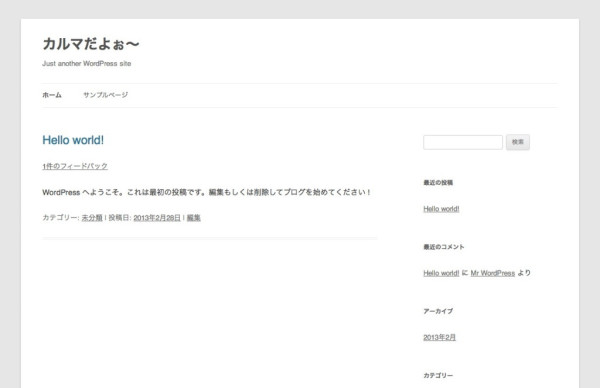
VPSにWebブラウザでアクセスし、WordPressが正常に動作してるかどうかを確認しましょう。以下のようなページが表示されていれば正常に動作しています。
以上で、「3. WordPressのインストール」は終了です。
» 2. MySQLの設定
